Okay I have been reading Bakerella’s blog for years, I’ve bought her cake pop book and I adore her. After all, she brought cake pops into my life! While she is an expert and an artist, I am an amateur.
I’ve seen some cake pop makers in stores but they are not true cake pops, as you can see a cake pop is a mix of cake and frosting, a perfect bite. So here are the baby steps to making your own cake pops at home, they are cheaper than the ones at Starbucks and they are GREAT for bake sales!
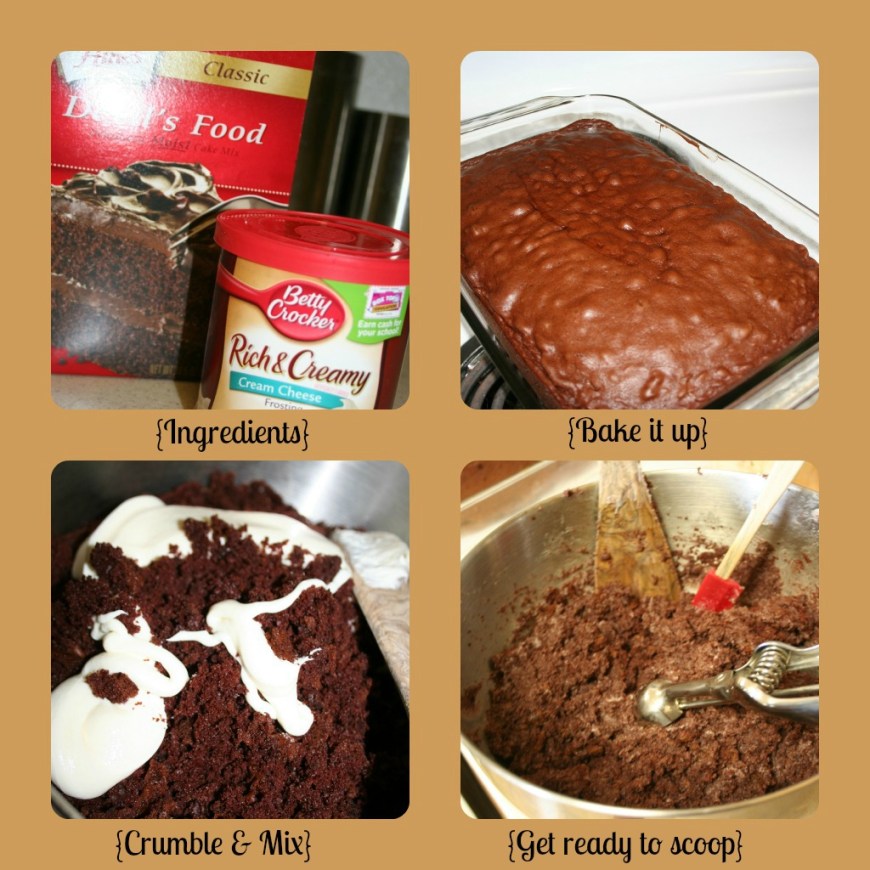
Grab your ingredients, a box of cake mix and a can of frosting. You can really do any combo, I like cream cheese frosting because it’s delicious. Mckenna prefers red velvet, I’ve done strawberry for her birthday, really whatever you like. You can absolutely do homemade but the two store-bought items are the perfect ratio. Bake up your cake and let it cool – completely! When it is totally cool just crumble it up with your hands to make cake crumbs. Dump in the can of frosting and get to mixing. Try and get it totally mixed with no cake clumps, they will affect the integrity of the cake pop. (Ha, that is the dumbest thing I’ve ever typed)
Okay, now a tangent on the size of your cake pop. I ran into an issue today with my two different sizes I was doing. I was using the small and medium Pampered Chef dishers. (If you don’t have dishers in your kitchen put them on your Christmas list, they are invaluable). The small size worked perfect, the large ones were falling off the stick. The larger ones could have possibly worked with thicker sticks. Anyways, the small ones were a perfect bite, so when in doubt, go smaller.
 So using your disher scoop perfectly uniform bites onto a parchment lined cookie sheet. Chill for 20-30 minutes. Come back and roll them into nice crumb free balls. Grab some candy melts (you should be able to find these in any craft store or sometimes in a grocery store) and melt them in a double boiler. Grab your sticks and dip them into the candy melts and then stick into cake pops. Chill again just to make sure these suckers aren’t going to fall apart on you. Dip into the candy melts and tap off the excess (but not too hard or you will shake it off of the stick!) You can stick these into Styrofoam to set, but I never have that, so I stuck them into an upside down colander (or three). Perfect!
This is just the starting point, there are so many ways you can decorate them. And they are just insanely delicious!
Enjoy!


