Cake Pop Tutorial! {From a novice}

Okay I have been reading Bakerella’s blog for years, I’ve bought her cake pop book and I adore her. After all, she brought cake pops into my life! While she is an expert and an artist, I am an amateur.

I’ve seen some cake pop makers in stores but they are not true cake pops, as you can see a cake pop is a mix of cake and frosting, a perfect bite.  So here are the baby steps to making your own cake pops at home, they are cheaper than the ones at Starbucks and they are GREAT for bake sales!

cakepops1

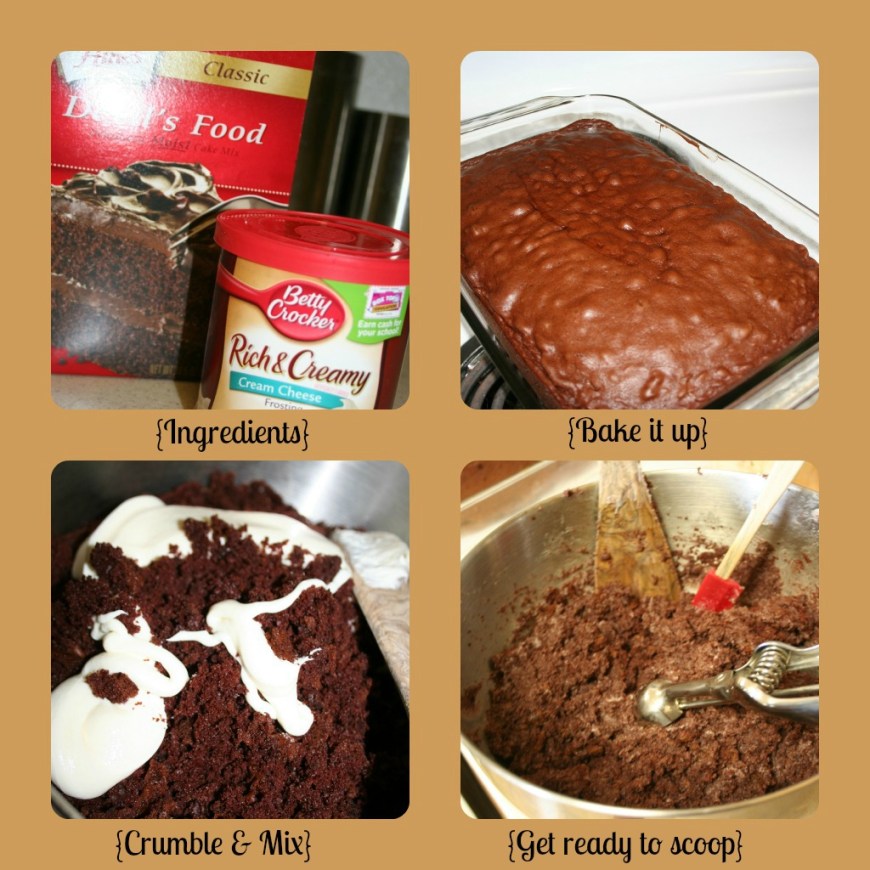
Grab your ingredients, a box of cake mix and a can of frosting. You can really do any combo, I like cream cheese frosting because it’s delicious. Mckenna prefers red velvet, I’ve done strawberry for her birthday, really whatever you like. You can absolutely do homemade but the two store-bought items are the perfect ratio. Bake up your cake and let it cool – completely! When it is totally cool just crumble it up with your hands to make cake crumbs.  Dump in the can of frosting  and get to mixing. Try and get it totally mixed with no cake clumps, they will affect the integrity of the cake pop. (Ha, that is the dumbest thing I’ve ever typed)

Okay, now a tangent on the size of your cake pop. I ran into an issue today with my two different sizes I was doing. I was using the small and medium Pampered Chef dishers. (If you don’t have dishers in your kitchen put them on your Christmas list, they are invaluable). The small size worked perfect, the large ones were falling off the stick. The larger ones could have possibly worked with thicker sticks. Anyways, the small ones were a perfect bite, so when in doubt, go smaller.


cakepops2So using your disher scoop perfectly uniform bites onto a parchment lined cookie sheet. Chill for 20-30 minutes. Come back and roll them into nice crumb free balls.  Grab some candy melts (you should be able to find these in any craft store or sometimes in a grocery store) and melt them in a double boiler. Grab your sticks and dip them into the candy melts and then stick into cake pops. Chill again just to make sure these suckers aren’t going to fall apart on you. Dip into the candy melts and tap off the excess (but not too hard or you will shake it off of the stick!) You can stick these into Styrofoam to set, but I never have that, so I stuck them into an upside down colander (or three). Perfect!

This is just the starting point, there are so many ways you can decorate them. And they are just insanely delicious!

Enjoy!
 

Commence Baking!

This month is flying and I mean FLYING by! As much as I am not ready I am being pulled into the holidays kicking and screaming. As usual I am a HUGE procrastinator when it comes to holiday stuff. My bestie Janelle reminded me that this was my make it or break it week.  Friday is the last day of school for my kids so I needed to get as much done as possible while juggling all my normal stuff as well as a gingerbread house party and two Christmas parties. No problem! I work best under pressure!

So tomorrow is the kids last day of school and I wanted to send some cookies in with their teacher gifts (I’ll post a pic as soon as they are done) so I pulled out the KitchenAid and put that bad boy to work. My favorite newish cookie, Bars Bars. I have my old standard favorites that I grew up eating and have to make every year so it feels like Christmas, but this is one I’ve only been making for 7 or 8 years. I got it from someone I used to nanny for from an old cafe recipe book she had. I love them. They have made their way into my annual cookie plates and are here to stay.  Baking this morning reminded me that this isn’t a chore I have been dreading. I love it!

Does the phrase “Cream butter and sugars together” make anyone else’s heart flutter? Because that is poetry right there.  Also, I get some sort of sick satisfaction from having obscene amounts of butter, brown sugar and chocolate chips in my pantry.

But here is a fab cookie recipe that I recommend you try. And as always if we are friends in real life I have first dibs on bringing this to any joint social function. That is the law with recipe sharing.

Bars Bars:

2C butter

4C brown sugar

4 eggs

1T vanilla

2t baking soda

4 1/2C flour

6-7C quick cook oats

Chocolate Layer:

2T butter

1 can condensed milk

1t vanilla

2C chocolate chips


Cream butter and brown sugar. Add vanilla & eggs. Mix well. Add flour and baking soda. Mix well. Add oats. (you guessed it) Mix well.

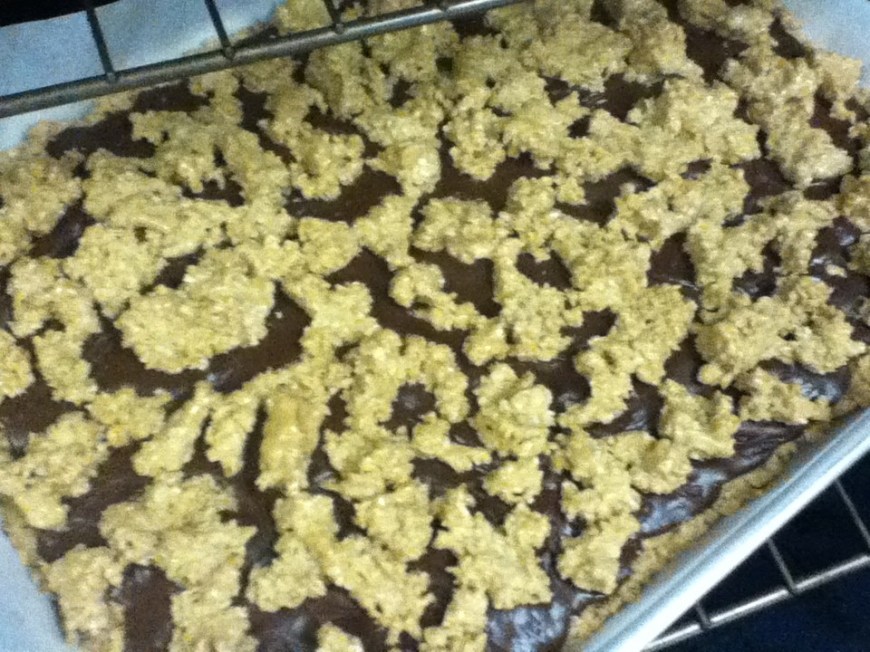
Spread 2/3 of the dough on a 1/2 sheet pan (12×17) (I like to line mine with parchment for easy removal/cleanup)

photo (11)

Melt the ingredients for the chocolate layer in a double boiler and spread over dough.

photo (12)

photo (13)


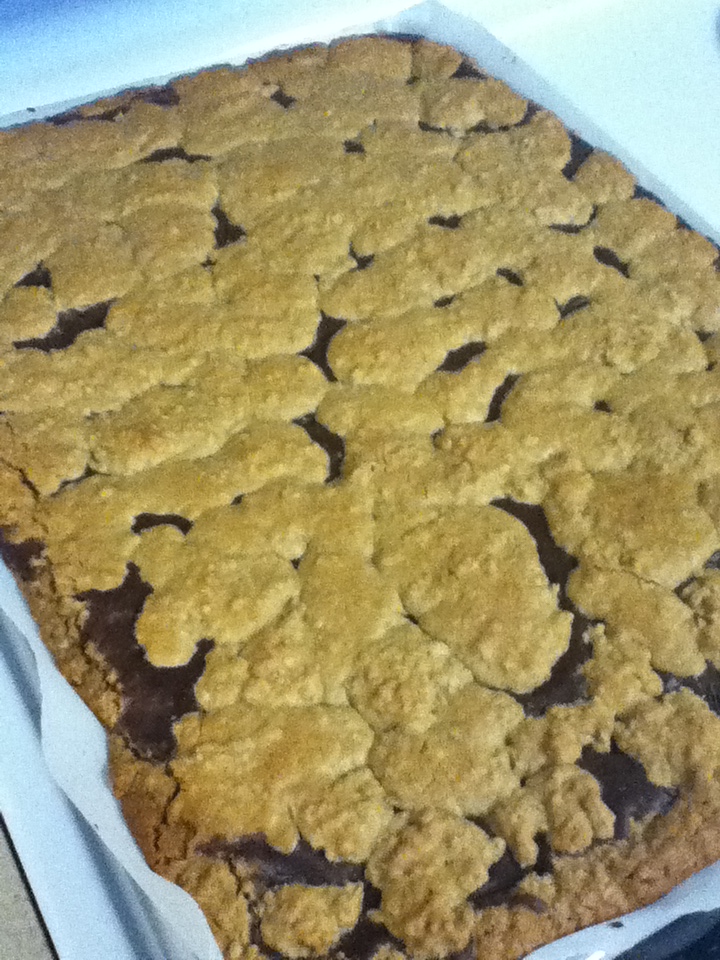
Drop the remaining dough over the top. Bake at 350 for about 25-30 min. These are pretty rich so you can cut them smaller than a normal bar cookie.

photo (14)

photo (15)


These are SO SO good. So now I have cookies to send in tomorrow (should probably get started on the cake pops I promised Mckenna I would make for her party) and there should be plenty left over to send some to Omar as well. I am waiting for my Christmas cards to get here so I can start baking and giving cookies and cards to all of my local friends here.

I am rockin’ this week!

Leonard’s Malasadas

If you ever see this sign or this truck pull your vehicle over and immediately buy some freshly made malasadas. Malasadas are Portugese doughnuts, why they are so wildly popular in Hawaii? I have no clue. But they are delicious, fried dough. Enough said.

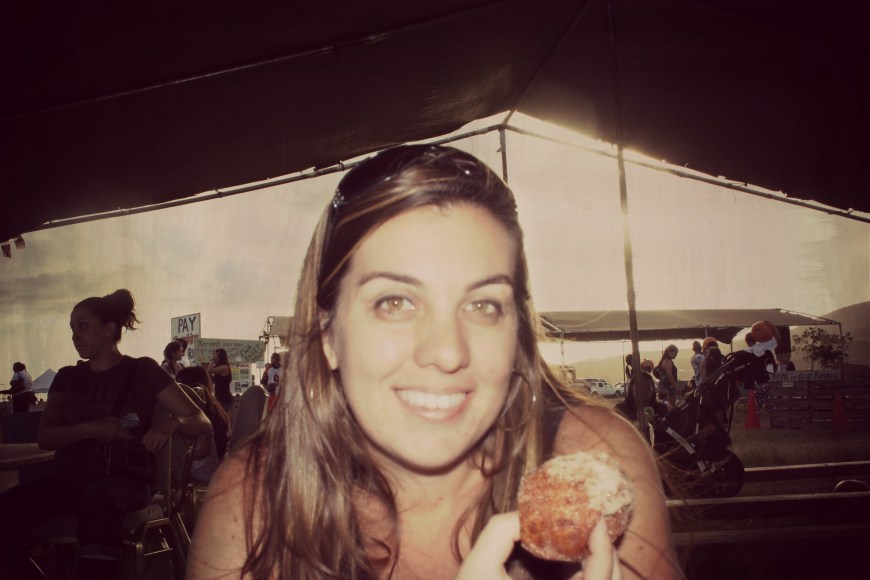
We got to sample our first ones at the pumpkin patch. (Also sorry if you hate the filter on the pictures, I was in the mood for an old school look) The line wasn’t too bad and the malasadas were being fried fresh… $1 each, we all picked cinnamon. OMG. Heaven. These would have to be eaten fast, once they got cold there is no way they would be as good. (not that I would know, we had no leftovers!)

Make This!: Pumpkin Spice Cookies

In the midst of cleaning out my pantry to get ready to move I had a can of pumpkin that I really wanted to turn into something yummy.

A few clicks online and I found the most ridiculously easy recipe ever. Two ingredients turn into delicious cookies.

Pumpkin Spice Cookies

1 can pumpkin (not pumpkin pie mix!)

1 box spice cake mix

1/2 c. water

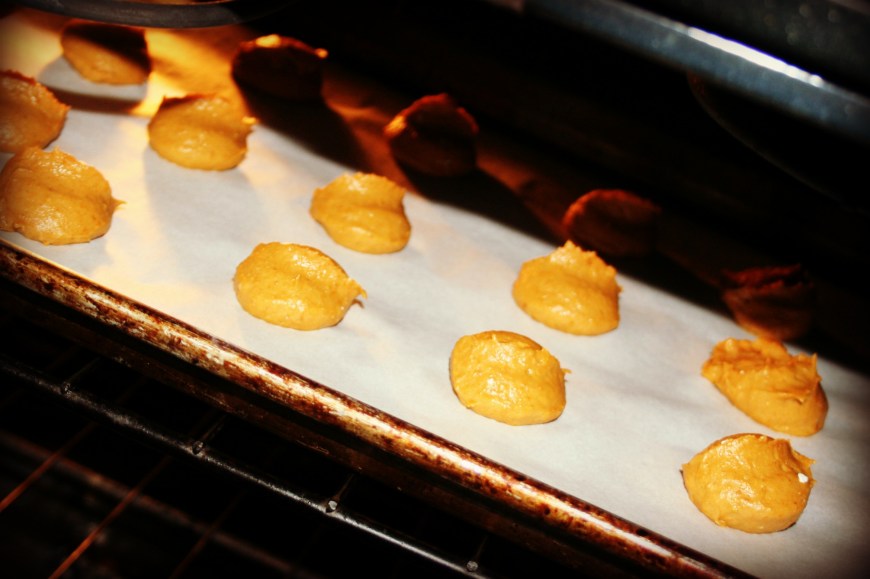
Mix together. I used a scoop so they would all be the same size. These don’t change much after baking so try to make sure they don’t come out too funky looking!


I used my small Pampered Chef scoop and these took about 10 minutes at 400.

After they were done I did a quick swirl of (store-bought!) cream cheese frosting over the top. SO. YUMMY! These are dangerous because they are one bit each so I keep grabbing one every time I walk by.

Eat This: Nutella S’mores

Oh how many years I have wasted not eating these! I was sitting around thinking to myself that I could REALLY go for some s’mores (what? it’s summer, don’t judge me!) but I am not the person who has Hershey bars just randomly sitting around my house. (those suckers are GONE within a day)

What do I keep on hand? Nutella. Once I thought of this I was astonished I’ve never heard of these before. (Yes I am sure millions of people have but I am a bit of a Nutella addict and I was surprised that this isn’t all over the place.)

Commence Nutella s’more making!

Of course this is ridiculously easy and doesn’t really need directions, but you need to have these in your mouth!

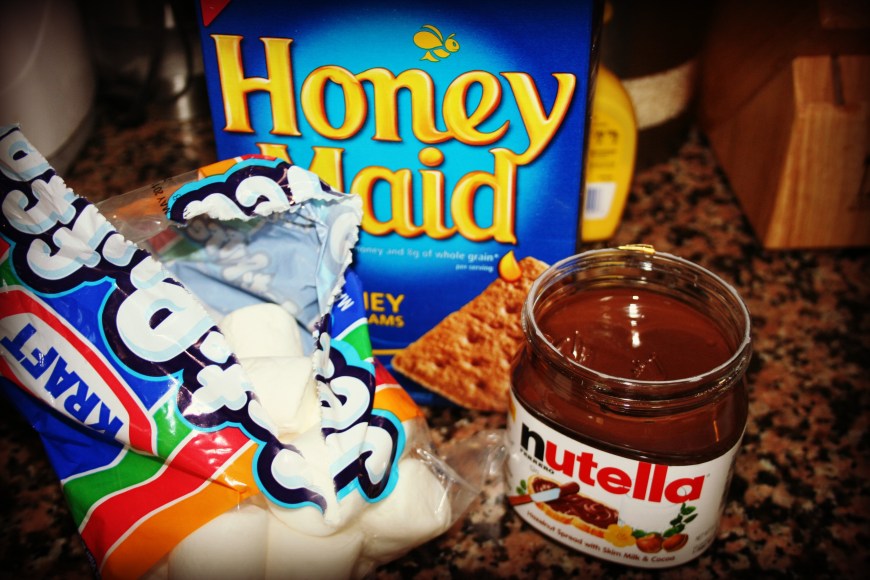
The cast of characters. And even if you are like me and have a box of graham crackers that were slightly stale and some marshmallows starting to stick together, I promise these will still be yummy!

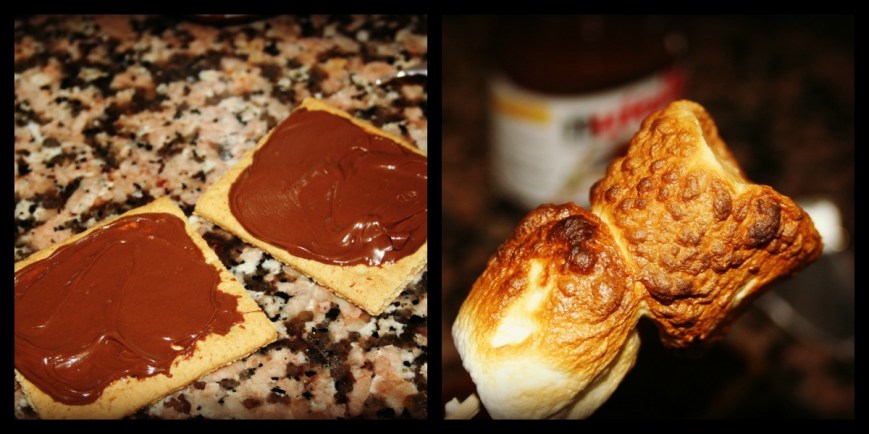
Some of this action needs to happen.  Those marshmallows were roasted over an open electric burner. The firepit was just too much work. I am not proud of this.

C’mon, you don’t really need instructions right? The moment you even read Nutella s’mores you were already digging in your cabinets.

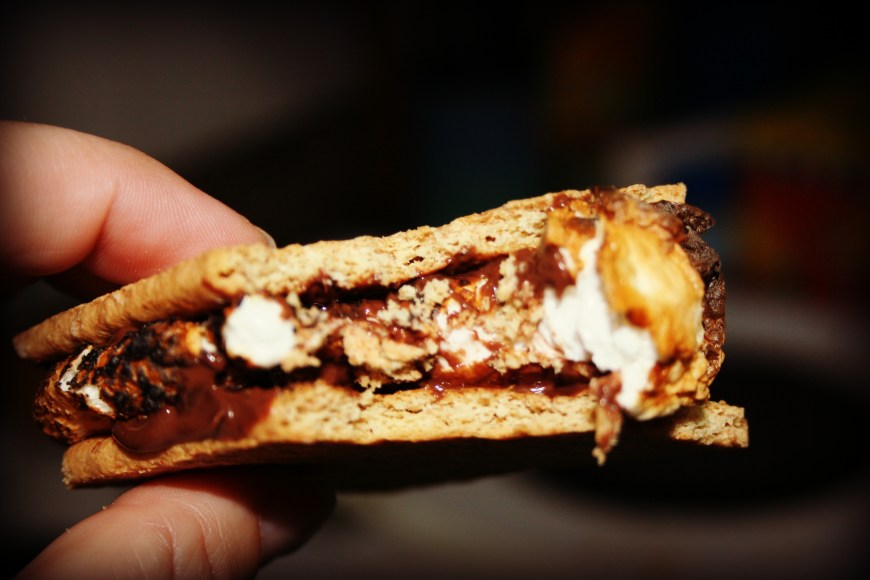
Come to mama…